Budget RV Tuna Pasta: Simple One-Pot Creamy Meal
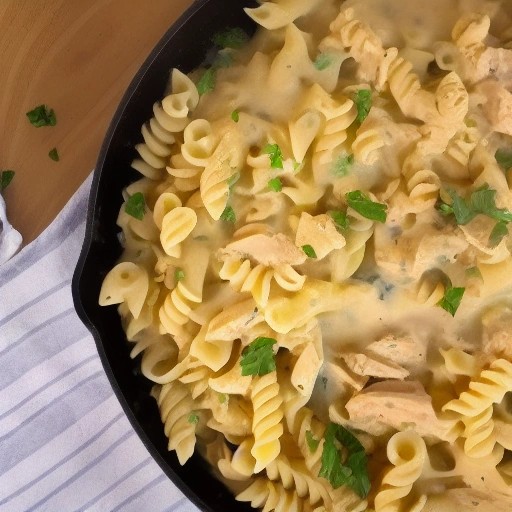
This Budget RV Tuna Pasta is the ultimate no-fuss, one-pot meal that transforms pantry staples into a creamy, satisfying dinner in under 20 minutes. Flaky canned tuna, tender pasta, and a rich, savory sauce come together in a single pot, creating a comforting dish that’s perfect for busy campers. It’s the kind of meal that feels like a warm hug after a long day of adventure.
Designed for RV kitchens with limited space and resources, this recipe uses budget-friendly ingredients and requires minimal prep and cleanup. Everything cooks in one pot, meaning more time relaxing at your campsite and less time washing dishes. It’s incredibly versatile—add your favorite vegetables, swap the cheese, or make it creamy or broth-based. This is the perfect example of how simple, affordable ingredients can create a truly delicious meal on the road.
Recipe Summary
Prep Time: 5 mins
Cook Time: 15 mins
Total Time: 20 mins
Servings: 4
Difficulty: Super Easy
Ingredients
- 2 tbsp olive oil
- 1 onion, diced
- 2 cloves garlic, minced
- 8 oz pasta (penne, shells, or rotini work well)
- 2 cups chicken or vegetable broth
- 1 cup milk (or half-and-half for extra creaminess)
- 2 cans (5 oz each) tuna in water, drained well
- 1 cup frozen peas (optional)
- 1/2 cup grated Parmesan cheese
- 1 tsp dried thyme
- 1/2 tsp smoked paprika (for smoky flavor)
- Salt and pepper to taste
- Fresh parsley for garnish
How to Make Tuna Pasta in One Pot
- Sauté the aromatics: Heat olive oil in a large pot or deep skillet over medium heat. Add the diced onion and cook for 3-4 minutes until softened. Stir in the minced garlic and cook for 1 more minute until fragrant.
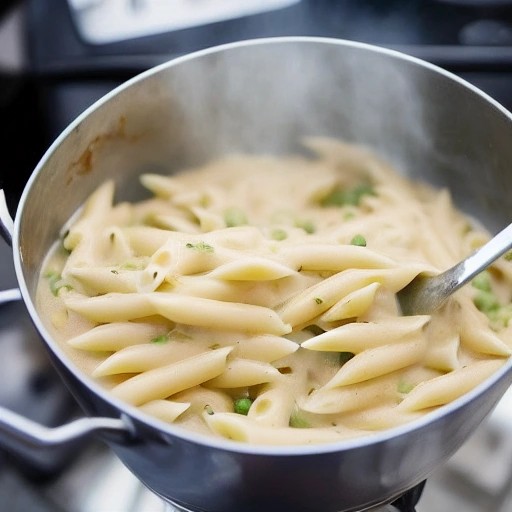
- Add the pasta and liquids: Add the uncooked pasta, chicken broth, and milk to the pot. Stir well to combine, ensuring the pasta is submerged in the liquid.
- Simmer until pasta is tender: Bring the mixture to a boil, then reduce heat to low. Cover and simmer for 12-15 minutes, stirring occasionally, until the pasta is cooked through and has absorbed most of the liquid. If the pot seems too dry, add an extra 1/4 cup of broth or milk.
- Add the tuna and peas: Gently fold in the drained tuna and frozen peas (if using). Cook for 2-3 more minutes until heated through.
- Finish and serve: Stir in the Parmesan cheese, thyme, smoked paprika, salt, and pepper. Remove from heat and let it sit for 2-3 minutes to thicken. Garnish with fresh parsley and serve hot.
Tips for the Best RV Tuna Pasta
- Drain tuna really well: Excess water from the tuna can make the dish watery. Press the tuna in a strainer or wrap it in a paper towel and squeeze out as much liquid as possible.
- Use smoked paprika for BBQ flavor: Smoked paprika adds that delicious smoky depth that mimics the flavor of grilled food. It’s a simple way to elevate this dish without extra ingredients.
- Don’t overcook the pasta: Stir occasionally during simmering to prevent sticking, but avoid over-stirring. Check for doneness a minute or two before the suggested time.
- Add vegetables for extra nutrition: Sauté diced bell peppers, mushrooms, or zucchini along with the onion for added color and nutrients.
5 Delicious Variations to Try
- Creamy Broccoli Version: Add 1 cup of chopped broccoli florets along with the pasta. The broccoli cooks perfectly in the broth and adds a lovely green color.
- Mediterranean Version: Add chopped Kalamata olives, sun-dried tomatoes, and a sprinkle of feta cheese. Use oregano and fresh lemon zest for a bright, tangy flavor.
- Spicy Tuna Pasta: Add red pepper flakes or a diced jalapeño along with the onions for a spicy kick. Top with fresh basil and a drizzle of olive oil.
- Cheesy Baked Version: Transfer the cooked pasta to an oven-safe dish, top with mozzarella and Parmesan, and broil for 3-4 minutes until bubbly and golden.
- Greek Yogurt Version: Replace the milk with plain Greek yogurt for a tangier, protein-packed creaminess. Add fresh dill and lemon juice for a bright finish.
Storage and Reheating Instructions
Store leftover tuna pasta in an airtight container in the RV refrigerator for up to 3 days. To reheat, add a splash of milk or broth to a skillet and warm over medium-low heat, stirring occasionally, until heated through. This prevents the pasta from drying out. You can also microwave individual portions with a damp paper towel over the top to retain moisture.
Frequently Asked Questions (FAQ)
Can I use canned chicken instead of tuna?
Absolutely! Canned chicken works perfectly in this recipe. Follow the same instructions—just drain it well and flake it with a fork before adding to the pot.
How can I add smoky flavor without a grill?
Adding smoked paprika, a dash of liquid smoke, or using a smoky BBQ sauce in the recipe mimics that delicious charcoal or gas grill flavor. Smoked salt also works beautifully.
Can I make this dish gluten-free?
Yes! Simply use gluten-free pasta and ensure your broth and seasonings are gluten-free. Follow the same cooking instructions, checking the pasta for doneness as gluten-free varieties may cook slightly differently.
What’s the best pasta shape for this dish?
Short pasta shapes like penne, shells, rotini, or elbow macaroni work best because they hold the sauce well and cook evenly in the one-pot method.
Can I use fresh tuna instead of canned?
Yes! Grill or pan-sear fresh tuna steaks and flake them into the pasta at the end. This adds a wonderful smoky flavor if grilled on a charcoal or gas grill.