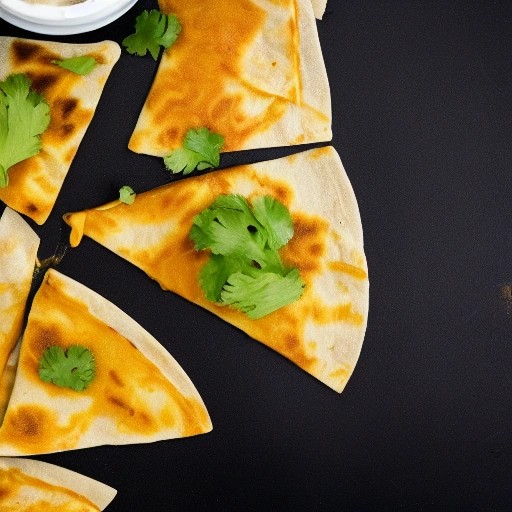
Quick Air Fryer RV Tuna Melt: A 10-Minute Campsite Classic
Imagine biting into a perfectly golden, crispy sandwich with warm, melty cheese and creamy tuna salad—all made in your RV air fryer in under 10 minutes with zero stovetop splatter. This Quick Air Fryer Tuna Melt is the ultimate easy meal for life on the road, delivering that nostalgic diner flavor with minimal effort. It’s fast, customizable, and guaranteed to become a campsite favorite.
This recipe is a game-changer for RV cooking and camp meals. The air fryer is the unsung hero of the campervan kitchen—it uses less power than a conventional oven, making it perfect for boondocking and dry camping. It heats up almost instantly and delivers crispy results in minutes . Plus, it’s a fantastic way to utilize your camping propane efficiently while keeping your fridge space free for other ingredients. For road trips, group camping, and van life, this air fryer tuna melt is an absolute winner. It’s a quick, satisfying meal that minimizes cleanup—a lifesaver when you’re managing water and fridge capacity. It’s also a smart choice for your food budget and trip budget, using simple, affordable ingredients that store well in your RV fridge or cooler space. Let’s fire up that air fryer and get this crispy, cheesy classic started!Recipe Summary
Prep Time: 5 mins
Cook Time: 8 mins
Total Time: 13 mins
Servings: 1 (easily doubled)
Difficulty: Easy
Ingredients
- For the Tuna Salad:
- 1 can (5 oz) tuna in water, drained
- 2-3 tbsp mayonnaise
- 1 tbsp diced celery (optional)
- 1 tbsp diced red onion or sweet onion
- 1 tsp Dijon mustard (optional)
- Salt and pepper to taste
- For the Sandwich:
- 2 slices hearty sandwich bread (sourdough, brioche, or whole wheat work great)
- 1-2 tsp mayonnaise or softened butter (for the outside of the bread)
- 1-2 slices cheddar, Swiss, provolone, or American cheese
- Optional Add-ins: Sliced tomato, pickles, or onion rings
Step-by-Step Instructions
- Preheat your air fryer. Set your air fryer to 380-400°F and preheat for 2-3 minutes .
- Make the tuna salad. In a medium bowl, combine the drained tuna, mayonnaise, celery, onion, mustard (if using), salt, and pepper. Mix until well combined .
- Prepare the bread. Spread a thin, even layer of mayonnaise or softened butter on one side of each slice of bread. This is the secret to a golden, crispy crust.
- Assemble the sandwich. Place one slice of bread in the air fryer basket, mayo-side down. Top with a slice of cheese, a heaping ½ cup of the tuna salad (spread to the edges), and any optional toppings like tomato or onion. Top with the second slice of bread, mayo-side up .
- Air fry. Cook at 380-400°F for 5-8 minutes, flipping halfway through . The sandwich is done when the bread is golden brown and crispy, and the cheese is melted and bubbly.
- Rest and serve. Carefully remove the sandwich from the air fryer and let it cool for 1-2 minutes before slicing . Serve immediately while hot and gooey.
Pro Tips for the Best RV Air Fryer Tuna Melt
- Use hearty bread. Sturdy bread like sourdough, brioche, or thick-cut whole wheat holds up to the filling and won’t get soggy . Avoid thin sandwich bread, which can burn quickly .
- The mayo trick. Spreading mayo (or butter) on the outside of the bread is essential for that perfect golden crunch—it works better than oil .
- Don’t overload. Use no more than ½ cup of tuna salad per sandwich. Too much filling can spill out and make the sandwich difficult to handle .
- Keep cheese on the bread. Make sure the cheese slices don’t hang over the edge of the bread, or they’ll melt off the sides .
- Watch the cooking time. Air fryers vary in power. Start checking at the 5-minute mark and adjust as needed to prevent burning .
- Scale it up. This recipe easily doubles or triples. Just cook sandwiches in batches to avoid overcrowding the basket .
Customize Your Campsite Tuna Melt
- Mediterranean Tuna Melt: Add chopped green olives, fresh basil, and a splash of red wine vinegar to the tuna salad .
- Spicy Tuna Melt: Add a pinch of red chili flakes or a dash of hot sauce to the tuna salad .
- Pesto Tuna Melt: Spread a thin layer of pesto on the bread before adding the tuna salad .
- BBQ Tuna Melt: Drizzle your favorite BBQ recipe sauce over the tuna before adding the cheese for a sweet and smoky twist.
- Open-Faced Style: For a lighter version, place a single slice of bread in the air fryer, pile on the tuna and cheese, and cook until the cheese is bubbly and golden .
Storing and Reheating Leftovers
Storage: Store any leftover tuna salad separately from the bread in an airtight container in your RV fridge for up to 2 days. Assembled sandwiches are best enjoyed fresh. Be mindful of your fridge capacity and use a storage planner to keep your fridge organized.
Reheating: The best way to reheat a tuna melt is in the air fryer at 350°F for 2-3 minutes to restore that crispy texture. Avoid the microwave, which will make the bread soggy .
Frequently Asked Questions (FAQ)
-
Can I make these in my RV without an air fryer?
Yes! You can cook them in a cast-iron skillet on your gas grill or charcoal grill over medium heat for 3-4 minutes per side. The smoky flavor from the grill adds a delicious twist. You can also bake them in a conventional RV oven at 375°F for 10-12 minutes .
-
How do I prevent my tuna melt from getting soggy?
Use hearty bread, drain the tuna well, and don’t add too much mayonnaise. Toasting the bread before adding the filling can also help—some recipes suggest toasting the bread in the air fryer for 2-3 minutes before assembling .
-
Can I use leftover grilled chicken instead of tuna?
Absolutely! This is a fantastic way to repurpose leftover grilled chicken from a previous BBQ recipe. Just chop or shred the chicken and replace the tuna in this recipe. It’s a great way to stretch your food budget.
-
What cheese works best for a tuna melt?
Cheddar is the classic choice, but Swiss, provolone, Monterey Jack, or American cheese all melt beautifully and complement the tuna .
-
How do I adapt this for a smaller campervan kitchen?
This air fryer recipe is already perfect for small spaces! To save on fridge space, use shelf-stable canned tuna and store the mayo and bread in your RV fridge or cooler space. A meal planner will help you pack the exact ingredients you need, keeping your grocery list short and your food costs optimized.