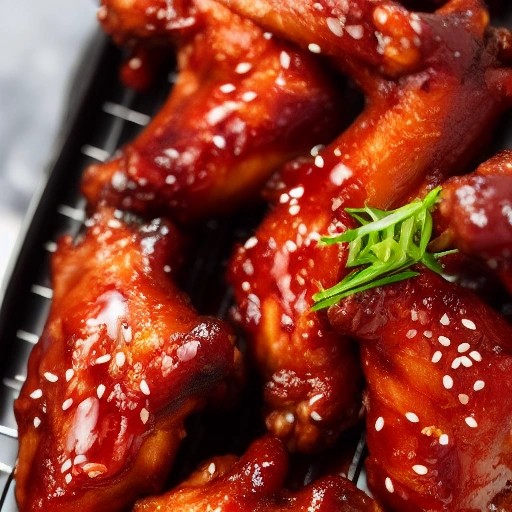
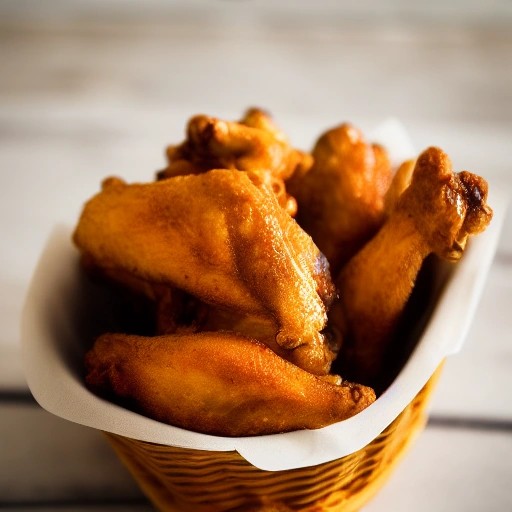
Quick Air Fryer RV Chicken Nuggets: Homemade Style in Minutes
Imagine biting into a perfectly crispy, golden-brown chicken nugget with a juicy, tender center—all made in your RV air fryer in under 30 minutes with no greasy stovetop splatter. These homemade chicken nuggets are a game-changer for family road trips, delivering that irresistible crunch kids crave without the mystery ingredients of store-bought versions. They’re fast, customizable, and guaranteed to be a campsite favorite.
This recipe is a lifesaver for RV cooking and camp meals. The air fryer is the unsung hero of the campervan kitchen—it uses less power than a conventional oven, making it perfect for boondocking and dry camping . It heats up almost instantly and delivers even, crispy results . Plus, it’s a fantastic way to utilize your camping propane efficiently while keeping your fridge space free for other ingredients. For road trips, group camping, and van life, these homemade nuggets are an absolute winner. They’re a quick, satisfying meal that minimizes cleanup—a lifesaver when you’re managing water and fridge capacity. They’re also a smart choice for your food budget and trip budget, using simple, affordable ingredients that store well in your RV fridge or cooler space. Let’s fire up that air fryer and get these crispy nuggets started!Recipe Summary
Prep Time: 20 mins
Cook Time: 10 mins
Total Time: 30 mins
Servings: 4-6
Difficulty: Easy
Ingredients
- For the Chicken:
- 2.5 lbs boneless chicken breasts or thighs, cut into bite-sized pieces
- For the Breading Station:
- 1 cup all-purpose flour
- 4 Tbsp cornstarch (for extra crispiness!)
- 1 tsp salt
- 2 tsp garlic powder
- 4 tsp smoked paprika (for that essential smoky flavor)
- 2 tsp ground mustard
- 1 tsp thyme
- 1 tsp oregano
- 1.5 cups buttermilk
- 4 egg whites, whisked until frothy
- 3 cups panko or regular breadcrumbs
- Olive oil cooking spray
Step-by-Step Instructions
- Set up your breading station. In three shallow bowls, arrange: Bowl 1: flour, cornstarch, and spices . Bowl 2: buttermilk and egg whites . Bowl 3: breadcrumbs .
- Cut and bread the chicken. Cut chicken into nugget-size pieces . Dip each piece first in the flour mixture, then the buttermilk mixture, and finally coat thoroughly with breadcrumbs .
- Place in the basket. Arrange the breaded nuggets in your air fryer basket in a single layer. Don’t overcrowd—cook in batches if necessary to allow hot air to circulate .
- Spray and cook. Lightly spray the tops of the nuggets with olive oil . Cook at 325°F for 5 minutes. Flip the nuggets, spray the other side, and cook for an additional 5 minutes .
- Check temperature. The nuggets are done when they’re golden brown and crispy, and the internal temperature reaches 165°F .
- Rest and serve. Let the nuggets rest for 1-2 minutes before serving. This helps lock in the juices .
Pro Tips for the Crispiest RV Chicken Nuggets
- Use chicken thighs for extra juiciness. Thighs have more fat and stay tender, but chicken breasts are a great lean alternative .
- Don’t skip the cornstarch. It absorbs moisture and is the secret to that ultra-crispy coating .
- Don’t overcrowd the basket. The air fryer works by circulating hot air. If the nuggets are too close together, they’ll steam instead of crisp .
- Use panko for extra crunch. Panko breadcrumbs are coarser and create a lighter, crispier coating than regular breadcrumbs .
- Make a speedy breading process. Use zip-top bags for the flour and breadcrumb mixtures—add the chicken, seal, and shake for an even coating .
Customize Your Campsite Nuggets
- Smoky BBQ Nuggets: After cooking, toss the hot nuggets in your favorite BBQ recipe sauce for a sweet, sticky glaze.
- Spicy Chipotle: Add ½ tsp chipotle powder to the flour mixture for a smoky, spicy kick.
- Garlic Parmesan: Toss the cooked nuggets in melted butter, minced garlic, and grated Parmesan cheese.
- Honey Mustard: Serve with a dipping sauce made from equal parts honey and Dijon mustard.
- Use leftover grilled chicken: If you have leftover grilled chicken from a previous BBQ recipe, chop it and use it in the same breading process.
Storing and Reheating Leftovers
Storage: Store cooked nuggets in an airtight container in your RV fridge for up to 5 days . For longer storage, freeze them for up to 2 months . Be mindful of your fridge capacity and use a storage planner to keep your fridge organized.
Reheating: The best way to reheat nuggets is in the air fryer at 400°F for 6-8 minutes to restore that crispy texture . Avoid the microwave, which can make them soggy .
Frequently Asked Questions (FAQ)
-
Can I make these in my RV without an air fryer?
Yes! You can bake them in a conventional RV oven at 425°F for 15-20 minutes. You can also use your gas grill or charcoal grill in a cast-iron skillet for a more pronounced smoky flavor.
-
Can I use frozen chicken nuggets?
Absolutely! Frozen nuggets cook beautifully in the air fryer. No need to thaw—just cook them in a single layer at 400°F for 8-10 minutes .
-
What’s the best breading for extra crispy nuggets?
A combination of flour and cornstarch, followed by panko breadcrumbs, creates the crispiest coating . Make sure to spray with oil before cooking for that golden brown finish .
-
Can I use leftover grilled chicken in this recipe?
Yes! This is a fantastic way to repurpose leftover grilled chicken from a previous BBQ recipe. Just dice it and use it in the same breading process. It’s a great way to stretch your food budget.
-
How do I adapt this for a smaller campervan kitchen?
This air fryer recipe is already perfect for small spaces! To save on fridge space, use shelf-stable panko and spices. A meal planner will help you pack the exact ingredients you need, keeping your grocery list short and your food costs optimized .