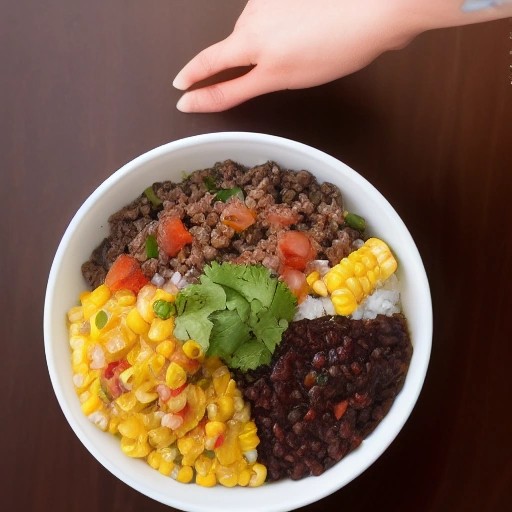
Easy Tex-Mex Chicken Nacho Loaded Skillet – One-Pan Campfire Favorite
Get ready for the ultimate crowd-pleaser that turns a simple campsite meal into a festive fiesta! This Easy Tex-Mex Chicken Nacho Loaded Skillet is everything you love about nachos, but upgraded with smoky grilled chicken and cooked to perfection in a single cast-iron skillet over your campfire or grill.
This isn’t just any BBQ recipe; it’s a fun, interactive meal that brings everyone together. Juicy, grilled chicken meets crunchy tortilla chips, melted cheese, and all your favorite toppings, all infused with that delicious smoky flavor from the fire. Whether you’re using a gas grill or a charcoal grill, this skillet dish is incredibly easy and perfect for a hassle-free outdoor dinner.
It’s a fantastic way to use up leftover chicken or create a memorable meal that feels like a party. So, grab your cast-iron skillet, fire up the grill, and let’s make some loaded nacho magic!
Recipe Summary
Prep Time: 15 mins
Cook Time: 15 mins
Total Time: 30 mins
Servings: 6
Difficulty: Easy
Ingredients
- 1.5 lbs boneless, skinless chicken breasts
- 1 tablespoon olive oil
- 2 tablespoons Tex-Mex seasoning
- 1 (12 oz) bag tortilla chips
- 2 cups shredded Monterey Jack or cheddar cheese
- 1 (15 oz) can black beans, rinsed and drained
- 1 cup corn kernels (fresh, frozen, or canned)
- 1/2 cup sliced jalapeños
- Toppings: diced tomatoes, sliced black olives, chopped cilantro, sour cream, and salsa
- Salt and pepper to taste
Step-by-Step Instructions for the Perfect Skillet Nachos
- Preheat the Grill: Set up your gas grill or charcoal grill for medium-high heat (about 400°F). Place a cast-iron skillet directly on the grates to preheat as well.
- Season and Grill the Chicken: Rub the chicken breasts with olive oil, Tex-Mex seasoning, salt, and pepper. Grill for 6-8 minutes per side until the internal temperature reaches 165°F. The smoky flavor from the grill is key here. Remove and let it rest for 5 minutes before dicing into bite-sized pieces.
- Assemble the Skillet: In the hot cast-iron skillet, layer half of the tortilla chips, followed by half of the diced chicken, black beans, corn, and jalapeños. Sprinkle with half of the cheese. Repeat the layers with the remaining ingredients.
- Melt the Cheese: Cover the skillet with a lid or a piece of aluminum foil. Place it back on the grill over medium heat for 5-7 minutes, or until the cheese is completely melted and bubbly.
- Serve and Top: Carefully remove the skillet from the grill (it will be hot!). Top with fresh tomatoes, olives, cilantro, sour cream, and salsa. Serve immediately right out of the skillet for a fun, communal meal.
Grilling Tips for the Ultimate Loaded Nachos
- Avoiding Soggy Chips: The key to crispy nachos is layering. Don’t drown the chips in sauce before grilling; instead, add fresh salsa and sour cream after cooking. Also, placing the skillet over direct heat helps crisp the bottom layer.
- Getting Perfect Grill Marks on Chicken: For those beautiful char marks, place the chicken on the clean, oiled grates and let it cook without moving it for at least 4-5 minutes.
- Controlling Heat on a Charcoal Grill: If using a charcoal grill, push the hot coals to one side to create a two-zone fire. This allows you to move the skillet to a cooler area if the cheese starts to burn.
- Marinade Timing: For an extra flavor boost, marinate the chicken in lime juice, oil, and spices for 30 minutes to an hour before grilling.
Delicious Variations to Make It Your Own
- Spicy Version: Add a layer of sliced fresh jalapeños and a drizzle of spicy chipotle sauce for a serious heat kick.
- BBQ Chicken Version: Toss the diced grilled chicken in your favorite BBQ sauce before layering it in the skillet for a sweet and smoky twist.
- Healthy Version: Use baked tortilla chips, swap the cheese for a low-fat version, and load up on extra veggies like bell peppers and onions.
- Smoky Version: Use smoked cheddar cheese and add a pinch of smoked paprika to the seasoning for an even deeper campfire flavor.
- Breakfast Version: Top the nachos with a fried or scrambled egg before serving for a hearty breakfast-for-dinner meal.
Storing and Reheating Your Leftover Skillet Nachos
Storing: While nachos are best enjoyed fresh, you can store leftovers in an airtight container in your RV fridge for up to 2 days. Be aware that the chips may soften. For best fridge organization, separate the toppings from the chip mixture if possible.
Reheating: To bring them back to life, reheat the nachos in a skillet over low heat on your gas grill or camping stove until warmed through. This helps re-crisp the chips slightly. Avoid using a microwave, as it will make the chips very soggy.
Frequently Asked Questions
- How do I keep the tortilla chips from getting soggy when grilling nachos?
The trick is to layer the ingredients and add wet toppings like salsa and sour cream only after the cheese has melted. Also, grilling the assembled skillet directly on the grill helps keep the bottom layer crispy. - Can I make this recipe on a charcoal grill?
Absolutely! A charcoal grill adds a wonderful smoky flavor to the chicken and the nachos themselves. Just set it up for indirect heat to melt the cheese without burning the chips. - What can I use instead of chicken?
This recipe is very versatile. You can easily substitute the chicken with grilled steak, shrimp, or even chorizo. For a vegetarian option, use extra beans and grilled vegetables like zucchini and bell peppers. - Can I prepare this ahead of time for a camping trip?
Yes! You can grill and dice the chicken at home and store it in your camper fridge. You can also chop all your toppings in advance. When you’re ready to eat, just assemble the skillet and heat it on the grill for a quick and easy dinner. - What’s the best way to reheat leftover nachos without them being soggy?
Reheat them in a skillet or on a baking sheet over your gas grill or in a toaster oven. The direct heat will help crisp up the chips again, much better than a microwave.