Quick Road Trip Tuna Melt Sandwich Wrap: The Ultimate Warm, Toasty Lunch
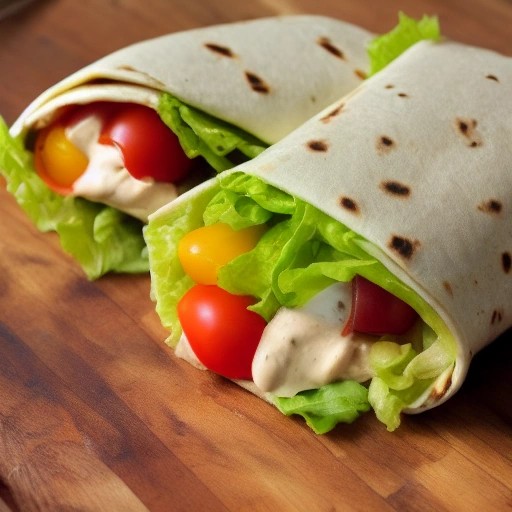
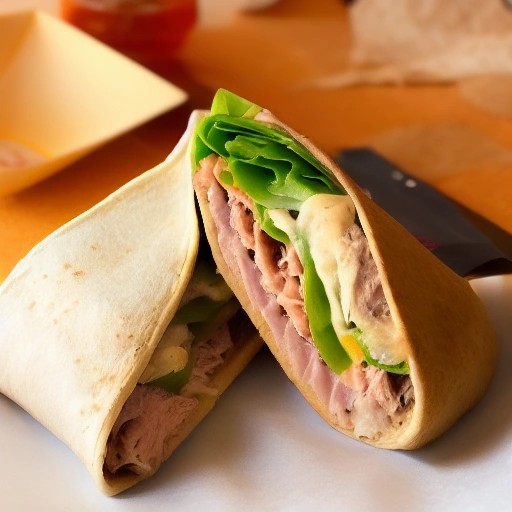
Imagine a warm, crispy tortilla wrapped around a creamy, cheesy tuna melt filling—the perfect road trip lunch that combines the comfort of a classic tuna melt with the portability of a wrap. This Quick Road Trip Tuna Melt Sandwich Wrap is a game-changer for life on the road, delivering that irresistible combination of melted cheese, savory tuna, and a golden, toasted exterior. It’s the kind of meal that makes you forget you’re eating at a roadside rest stop.
This recipe is a lifesaver for RV cooking and camp meals. Tuna melt wraps are fantastic road trip food—they’re quick to make, easy to customize, and require minimal cleanup, which is a blessing when you’re managing water and fridge space. They’re also a smart choice for your food budget and trip budget, using simple, shelf-stable ingredients that maximize your fridge capacity and minimize food waste. This is exactly the kind of camping food that makes life on the road easier.Why This Wrap Is Perfect for the Road
- Quick to prepare – Ready in 15 minutes or less
- Minimal cleanup – One skillet and a few utensils
- Customizable – Endless variations to suit your taste
- Portable – Easy to eat on the go
Recipe Card
Recipe Summary
Prep Time: 5 mins
Cook Time: 8-10 mins
Total Time: 15 mins
Servings: 2
Difficulty: Easy
Ingredients
- For the Tuna Melt Filling:
- 1 can (5 oz) tuna in water, drained
- 2 tbsp mayonnaise (or plain Greek yogurt)
- 1 tbsp Dijon mustard
- ¼ cup shredded cheddar cheese
- 2 tbsp diced celery (optional, for crunch)
- 2 tbsp diced red onion (optional)
- Salt and pepper to taste
- For the Wrap:
- 2 large flour tortillas
- ½ cup shredded cheddar or Swiss cheese (for melting)
- 1 tbsp butter or oil (for cooking)
- Optional Add-ins:
- Dill pickles, sliced
- Fresh spinach or lettuce
- A drizzle of your favorite BBQ recipe sauce for a smoky flavor twist
Step-by-Step Instructions
- Make the tuna salad. In a medium bowl, combine the drained tuna, mayonnaise, mustard, ¼ cup shredded cheese, celery, and red onion (if using). Mix until well combined. Season with salt and pepper to taste .
- Assemble the wrap. Lay a tortilla flat. Sprinkle half of the remaining cheese over the center of the tortilla. Top with a generous portion of the tuna salad mixture. Add any optional toppings like pickles or spinach.
- Fold and prepare. Fold in the sides of the tortilla and roll it tightly from the bottom up to form a secure wrap .
- Melt and crisp. Heat a skillet over medium heat and add the butter or oil. Place the wrap seam-side down in the skillet. Cook for 2-3 minutes per side, pressing down gently with a spatula, until golden brown and the cheese is melted .
- Wrap and go. Let cool for 1-2 minutes before wrapping in foil or parchment paper for your road trip.
Pro Tips for the Perfect Tuna Melt Wrap
- Drain the tuna well. Excess moisture can make the wrap soggy. Press the drained tuna with a fork to remove as much liquid as possible .
- Use the right skillet. A cast-iron skillet works beautifully for achieving that golden, crispy exterior . If you’re cooking on a gas grill or charcoal grill, use a cast-iron pan for the best results .
- Don’t overfill. Overfilling the tortilla makes it difficult to roll and can cause it to burst. Stick to the suggested amounts for a perfect wrap .
- Add cheese on both sides. Placing cheese directly against the tortilla helps “glue” the wrap together and prevents the filling from spilling out .
- Cook on medium heat. Medium heat ensures the tortilla gets crispy and golden without burning before the cheese has melted inside .
- Use leftover grilled chicken. This wrap is also fantastic with leftover grilled chicken from a previous BBQ recipe. Just shred it and use it in place of the tuna for a smoky flavor twist.
Variations
Classic Tuna Melt Wrap
- Use Swiss or American cheese instead of cheddar
- Add sliced tomatoes and lettuce after cooking
Spicy Tuna Melt Wrap
- Add sriracha or a pinch of red pepper flakes to the tuna salad
- Use pepper jack cheese for a spicy kick
Smoky BBQ Tuna Wrap
- Add a drizzle of your favorite BBQ recipe sauce and a pinch of smoked paprika
- Top with crispy onion straws for extra crunch
Low-Carb Option
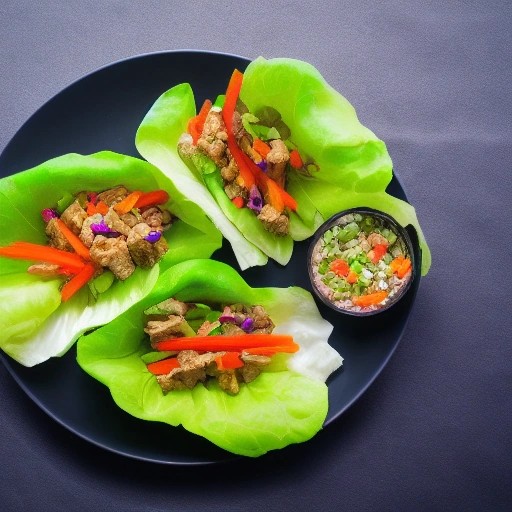
- Use large lettuce leaves instead of tortillas for a fresh, gluten-free wrap
Storage Instructions
Storage: Store cooked wraps in an airtight container in your RV fridge for up to 2 days . For optimal freshness, keep the tuna salad and tortillas separate and assemble just before eating. Be mindful of your fridge capacity and use a storage planner to keep your fridge organized.
Reheating: The best way to reheat a tuna melt wrap is in a dry skillet over medium heat for 2-3 minutes per side, or in the air fryer at 350°F for 3-4 minutes to restore that crispy texture . Avoid the microwave, which can make the tortilla chewy and soggy.
Frequently Asked Questions (FAQ)
Can I make these tuna melt wraps ahead of time for a road trip?
Absolutely! You can prepare the tuna salad up to 2 days ahead and store it in your RV fridge. Assemble and cook the wraps fresh for the best texture, or pre-assemble and reheat in a skillet when you’re ready to eat.
What’s the best tortilla for wraps?
Large flour tortillas are the most flexible and easy to roll. Whole wheat, spinach, or low-carb tortillas are also great options. Warming them slightly before rolling helps prevent tearing .
Can I use leftover grilled chicken in this recipe?
Yes! This is a fantastic way to repurpose leftover grilled chicken from a previous BBQ recipe. The smoky flavor adds a delicious twist. Just shred it and use it in place of the tuna .
How do I adapt this for a smaller campervan kitchen?
This recipe is already perfect for small spaces—just one skillet needed! Use pre-cooked chicken or canned tuna to save cooking time and camping propane. A meal planner will help you pack the exact ingredients you need, keeping your grocery list short and your food costs optimized.
Can I make this without mayonnaise?
Yes! Swap the mayo for plain Greek yogurt, mashed avocado, or a drizzle of olive oil and lemon juice for a lighter, healthier option .